

This elevation was part of our Historic District Commission submittal. The kitchen is the section of building that is hatched out on the far right.
We had the heating pipes serving the kitchen cut in an attempt to thermally amputate it from our main building. (that sounds really gross to say) The interior wall separating the kitchen from our conference room is our new thermal and air barrier. We are going to apply 3" of rigid foam to the walls just like we did to the rest of the building and we are going to replace the existing door with an insulated exterior door.
We need to connect the air barrier on the interior wall we are insulating to the air barrier on the exterior walls. Luckily, from the interior of the kitchen, a tiny piece of the exterior wall's Tyvek air barrier is visible. We are going to butt the Typar we are using inside up to the Tyvek and are going to attach them together using Great Stuff foam. Great Stuff does a great job getting into all the little nooks and crannies and does a good job adhering to whatever it touches.

This is a really scary picture. There is a lot of things going on here. Notice the vertical sliver of white? That is our exterior wall Tyvek air barrier that we are going to be attaching our interior Typar air barrier to using Great Stuff foam.

This is the Typar tacked into place. The rigid foam is going to go on top of this.
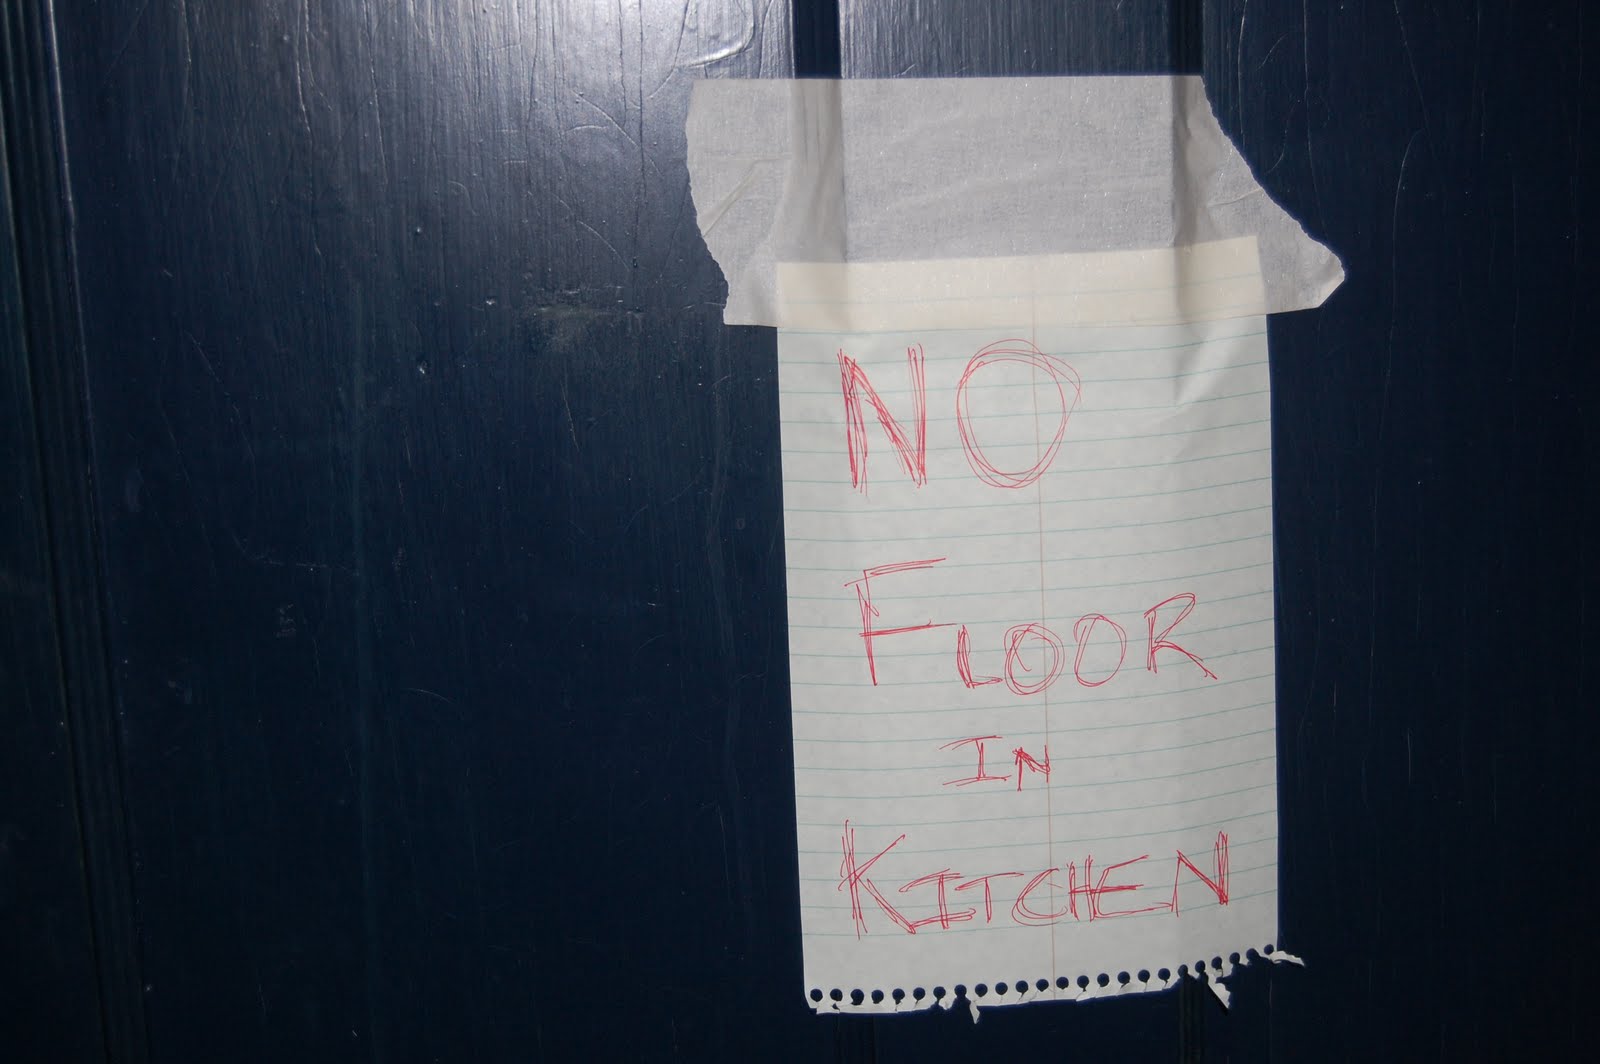
We needed to removed some floor boards in the kitchen to gain full access to the wall and sill.

View from the conference room towards the kitchen. This door is going to be removed and either put in the attic for a future project of donated somewhere.

In this photo you can see that the kitchen is literally built on cinder blocks. No wonder the floor feels like a circus fun house!

Ron sistered on a 2x6 to the exposed sill for added strength and to have something solid to build off of. He put down a bead of Great Stuff foam on the existing rough sill before sistering the new lumber to create a air tight seal. Believe it or not, the sill and the sistered pieces of lumber is part of the air barrier assembly.
Lets see if i can illustrate it using my markers...


Ok so the crayola marker sketch didn't come out too clean and "hing" of sheathing was cut of in the scan on the top right. Sorry about that. If I had the time, I would do it again with different markers.
What if we went ahead and removed every component in the drawings above except for the materials that serve as the air barrier? It would look something like this:


Air barriers need to be continuous in all directions. To ensure that the air barrier is continuous, you should be able to draw a line from the roof to the foundation highlighting the materials and connections that make up the air barrier assembly and not need to pick up the marker. Picking up the marker at any point would be what we call a hole. Holes are bad. Notice how the sill is part of the air barrier? Crazy stuff.


No comments:
Post a Comment